The Super Nintendo is loaded with plenty of good games for every genre. However, if there was a genre I wish we had more representations of, it would definitely be the top down shooter. Sure you got the Pocky & Rocky series, True Lies, Soldiers of Fortune, Super Smash TV and so forth, but I wish there were even more. Thankfully, Jaleco did their part and gave SNES players a solid addition to the genre. Not a stand out title, but it makes for a quality addition to any Super Nintendo collection.
FORTIFY THIS
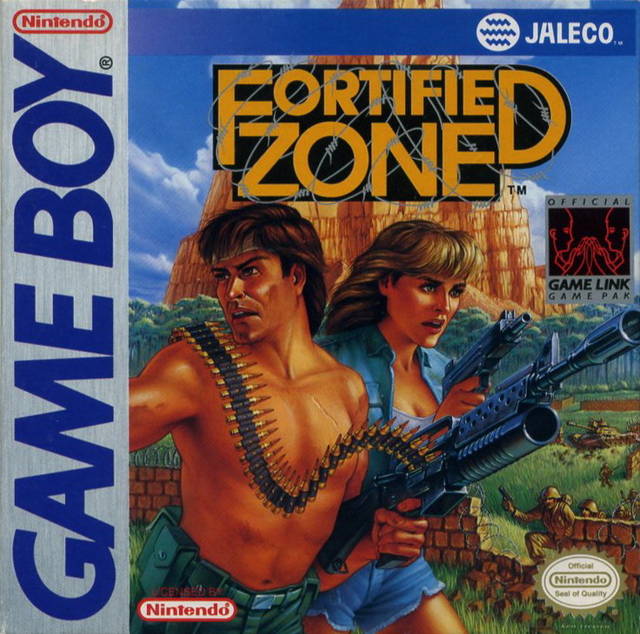
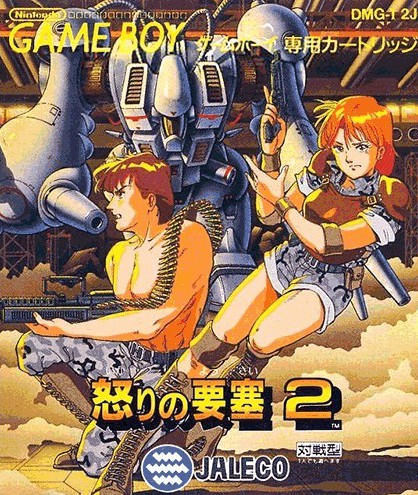
How many SNES games can you say is a sequel based off a Game Boy title? Not many, right? Operation Logic Bomb would be a good answer to such an obscure trivia question. Jaleco developed Fortified Zone (AKA Ikari no Yōsai in Japan) and released it in September of 1991.
OPERATION SNES
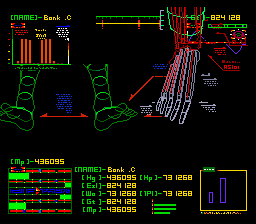
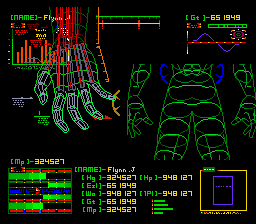
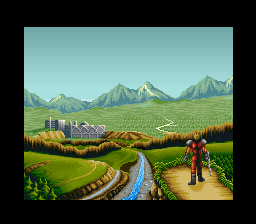
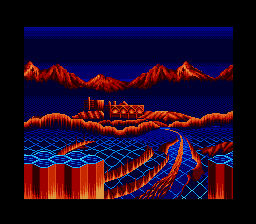
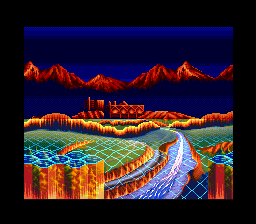
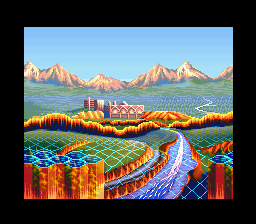
Operation Logic Bomb opens up with a futuristic intro.

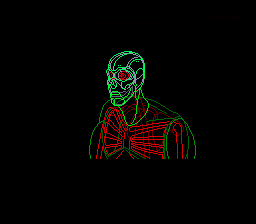
Advanced technology created this super soldier warrior. As Agent Logan, you’re tasked with rescuing some scientists from a lab that has been taken over by unwanted intruders. Failure to save the lab will result in the imminent destruction of the entire planet. Good luck, Agent Logan.
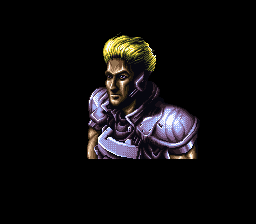
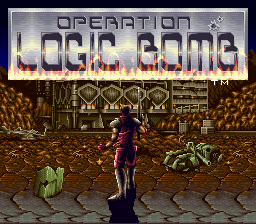
Simple but cool intro got me hyped a bit.
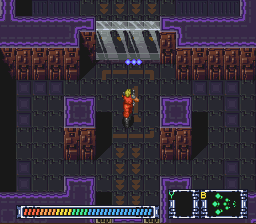
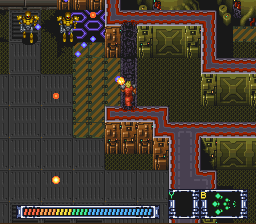
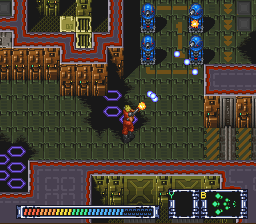
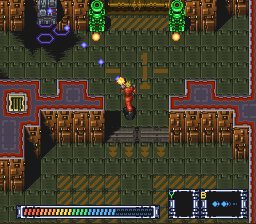
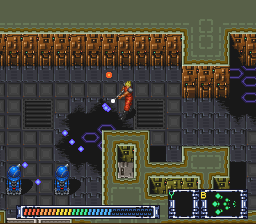
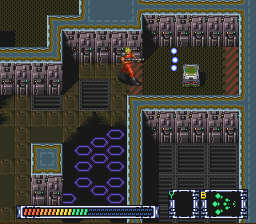
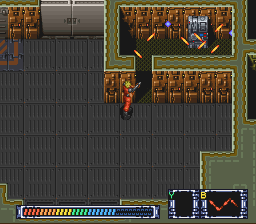
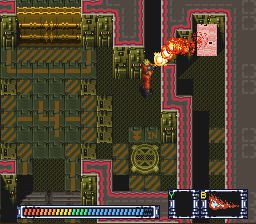
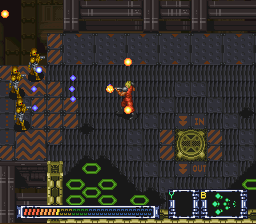
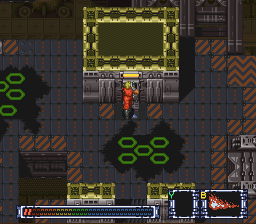
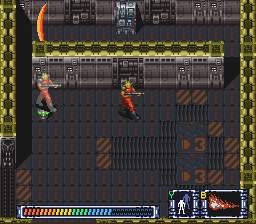
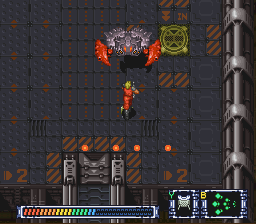
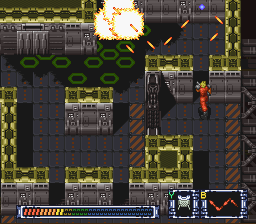
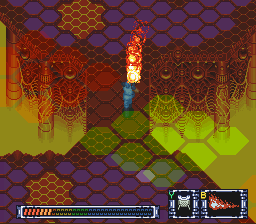
Shatter the glass entrance. Nice way to start things!
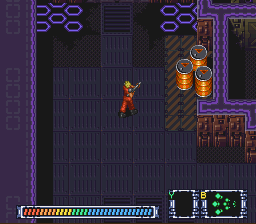
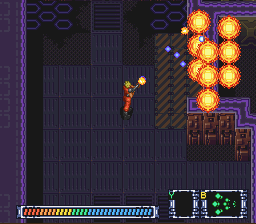
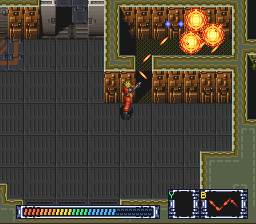
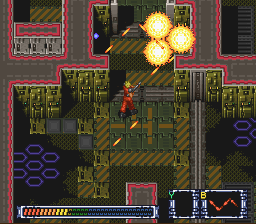
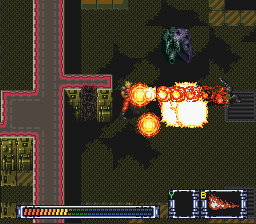
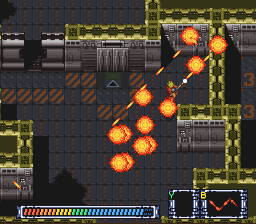
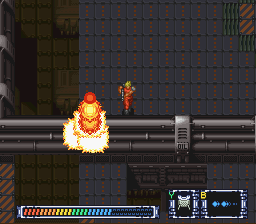
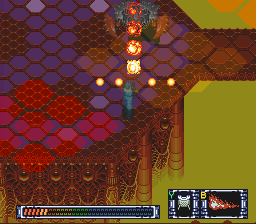
Exploding barrels? What is this, a top down Doom? TAKE MY MONEY. Unfortunately, this is the only time in the game this happens. A wasted opportunity…
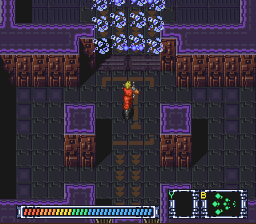
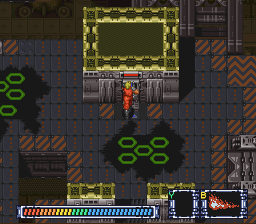
Destroy whatever that “thing” is, and the lights turn on. Nice.
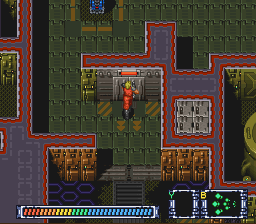
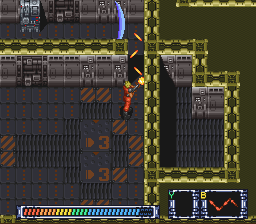
Positioning and playing the angles right is what it’s all about.
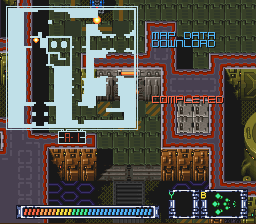
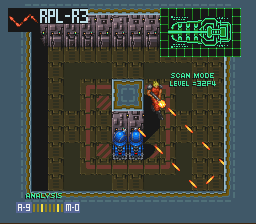
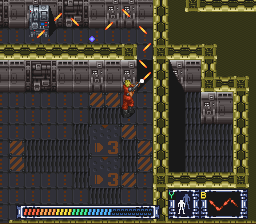
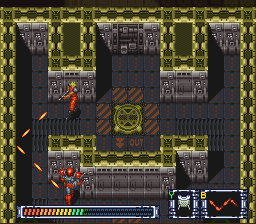
Panels may hold a map. The levels aren’t big so there’s little risk of getting lost, but it’s nice to have a map anyway.

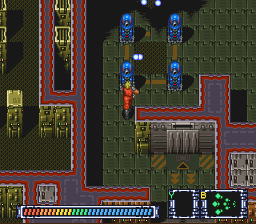
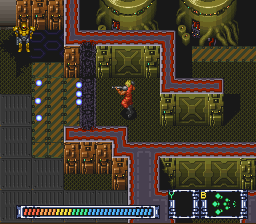
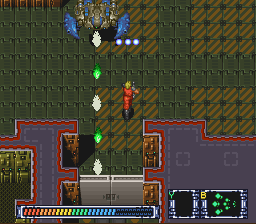
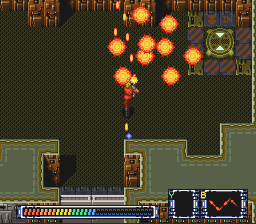
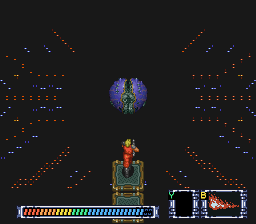
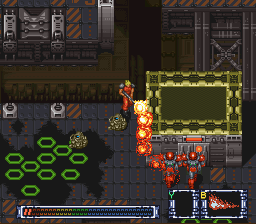
Enemies appear in set patterns. When there’s only one it usually means there’s more to soon come.

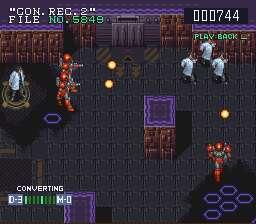
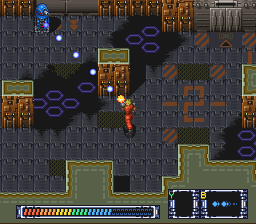
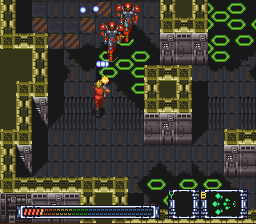
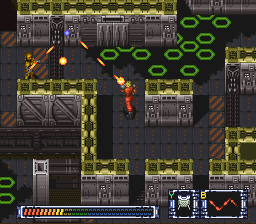
Purple hives produce enemies. Once you kill the set amount, they stop coming. Take your time to strategize the best plan of attack.

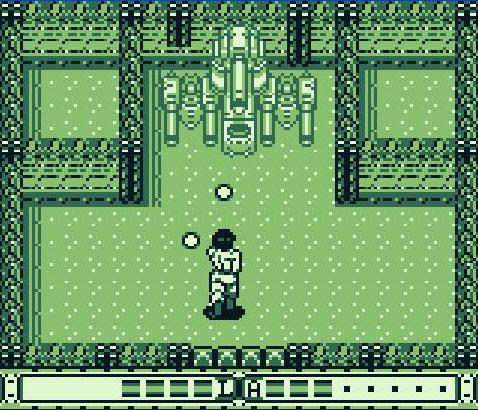
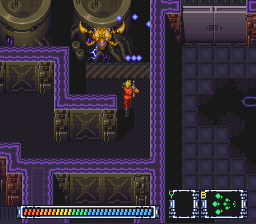
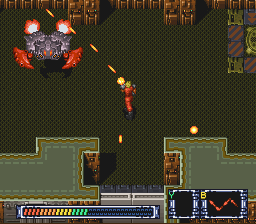
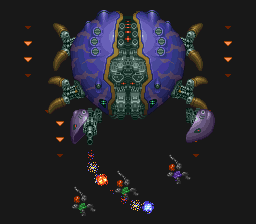
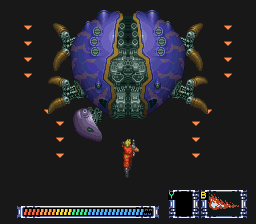
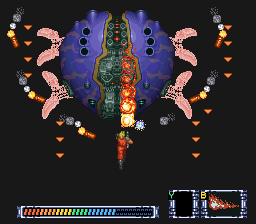
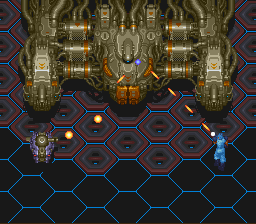
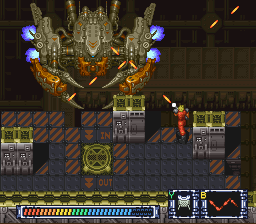
These crab-like robotic creatures are the bosses of the game. They start out very easy but progressively get harder.
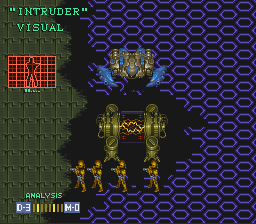
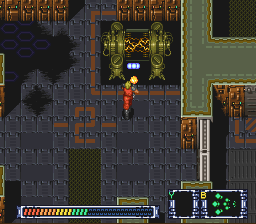
They’re very protective of these containers. You’ll see some cutscenes as you play through the game, as seen here.
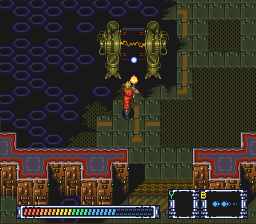
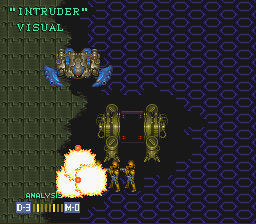
Obliterate that generator in the corner there to open the door. Ah, it’s the container the crab is so crazy about protecting. Blow it to Kingdom Come.

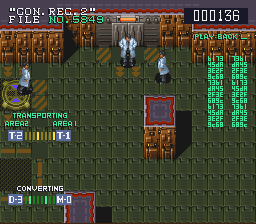

Cutscenes like this allow you a glimpse into past events. Those scientists stand no chance against the red troopers.
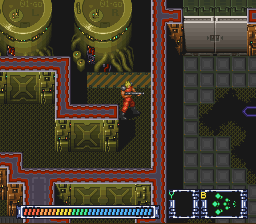
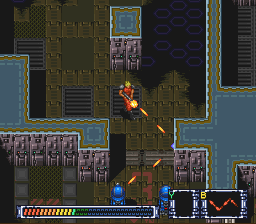
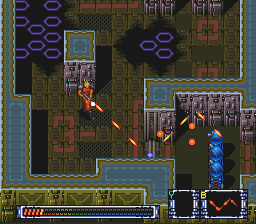
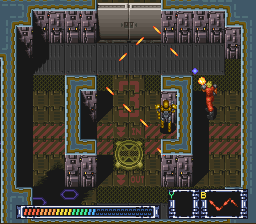
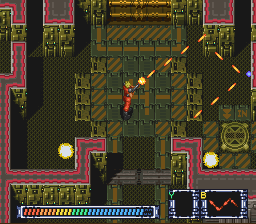
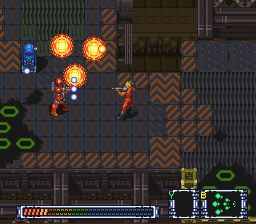
Enemies can only shoot at 45 or 90 degree angles. Use this knowledge, and the various walls and barriers, to your advantage. Moments like this is when the game is at its best.
Containers just sit there defenseless. Always feels good taking them out.
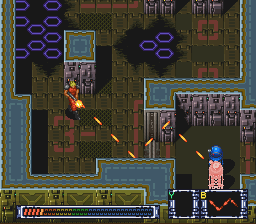
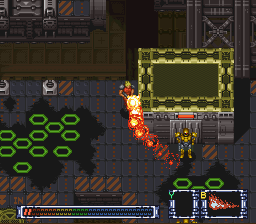
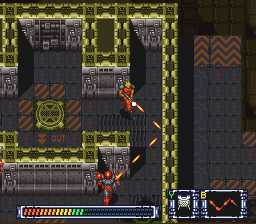
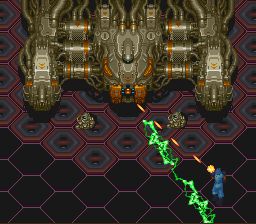
Beginning the game with a single shot and a spread shot, you can gain up to three more weapons as you progress throughout. The first one being this sick ricochet shot.
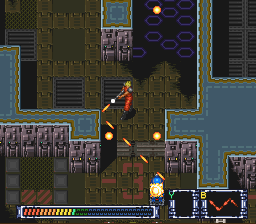
Bounce your shots with this gun off walls to take out the opposition. It allows you to tinker around with different angles and can be a true Godsend.
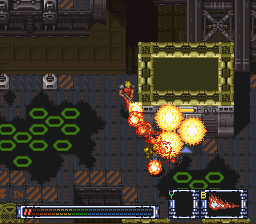
Nothing like bouncing it off multiple surfaces to kill the baddies!


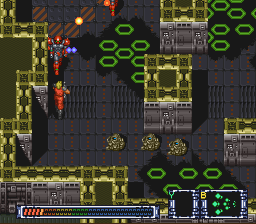
Blowing up the generator eliminates those pesky plasma shots that relentlessly pursue you.
Certain generators can only be taken out with the ricochet shot.
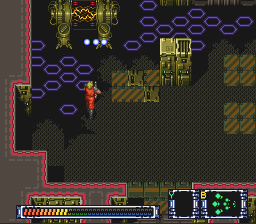
Teleporters appear later in the game.

Ricochet shots from a safe angle to take out the bad guys. Later on you’ll face crabs as mid-bosses. This one is a pushover as it can only shoot forward.
Things start to get hairy when you either rush in or the enemies come at you in waves. It’s all about using the right gun for each situation.


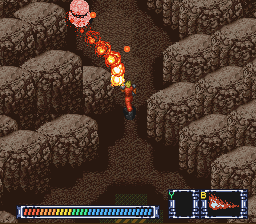
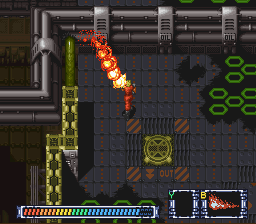
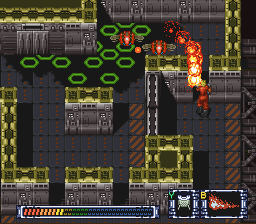
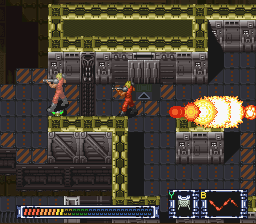
Another cutscene previews an upcoming badass boss that’s extremely protective of its territory… but we also get a preview of the flamethrower…
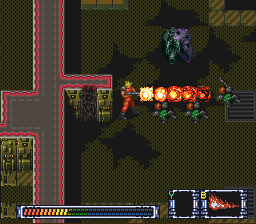
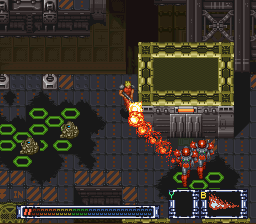
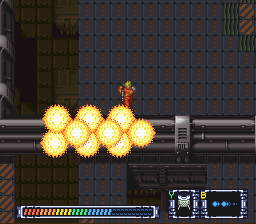
Flamethrower is short, but very potent. Thankfully, all guns have unlimited ammo. So feel free to hold down on that fire button. But damn, you can eviscerate the remains of those guys there. A bit brutal but I’d be lying if I said I didn’t like it a bit…
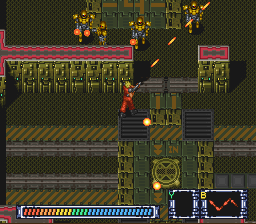
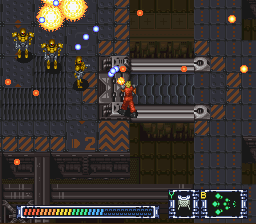
Golden [State -Ed.] Warriors are a pain in the ass. Look at those four — who do they think they are, Kevin Durant, Steph Curry, Draymond Green and Klay Thompson? Although low on health, they move fast as hell and can quickly injure you something bad. Speaking of bad news, better kill those generators fast before any more damage can be incurred.
Ricochet shot doesn’t work here. Try the flamethrower…
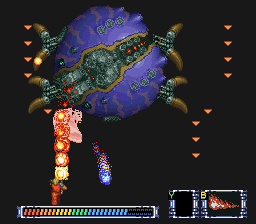
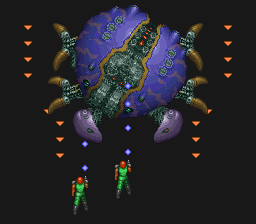
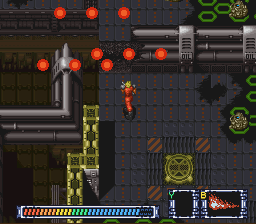
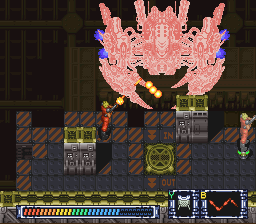
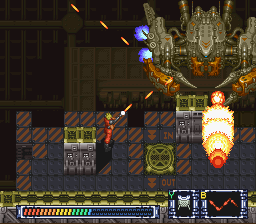
YOWZERS. Talking about a dramatic, intimidating entrance. This mother crab attacks you with homing missiles and a whole lot of piss and vinegar.
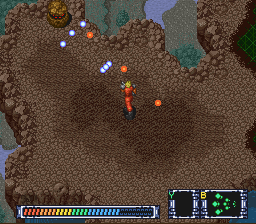
Finally, we get a little change of scenery. The scene shifts outdoors and we’re introduced to a new rock type enemy.

Position yourself correctly and there’s nothing they can do!
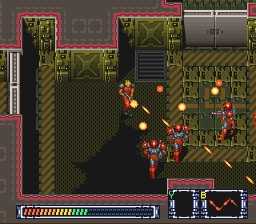
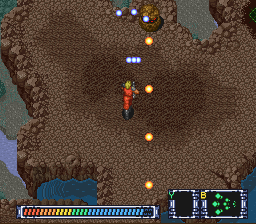
Things get a lot tougher when enemies attack in droves. Also, variations of enemies can appear at once, forcing you to adjust on the fly and select the best strategy for each given situation.
Formations vary and moments like these in particular are a bit nasty. Having a new wave of enemies nipping at your heels while you’re contending with another wave in front of you is where the game gets a bit tough.
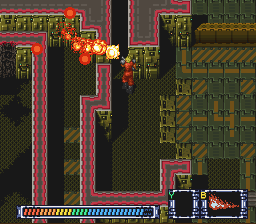
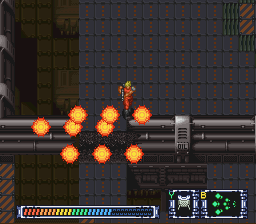
Flamethrower curls around corners. Love that! But damnit, here comes another wave of baddies eager to chomp your ankles off!
Nothing beats finding a health refill station right in the nick of time.

Generators stand in your way of locked doors.

Halfway through the game you’ll find the PID-R1, AKA the Personal Image Duplicator-Release 1. This handy item allows you to place a holographic decoy image of yourself which attracts your enemies and draws them away from you. Not only the bad guys but also situational obstacles such as this force field. Use your Reflecting Pulse Laser to take care of the generator.
Certain sections can only be accessed after some, ahem, gentle prodding.

Speaking of “gentle prodding” …
Trickiest part of the game is when those Golden [State -Ed.] Warriors come at you in waves [Just ask the “King” and Cleveland… -Ed.]. Later on, more crab mini-boss battles ensue.
Satisfying as hell to pick off bad guys from a safe angle.
Choosing the right weapon for the right moment is the name of the game. It’s kill or be killed. You can’t just walk by enemies — you gotta terminate them all. Some doors remain locked until you clear them all out.

Remember all the special tools you gained earlier on? The holographic decoy and the mine? You’re going to need to use both to beat this sucker!
Employ both techniques to wear this bastard down.
Finally, another level that takes place outside the lab. I wish more levels had a unique look like this last one. That would have made this game even more interesting. The last boss isn’t as hard as the one before it.
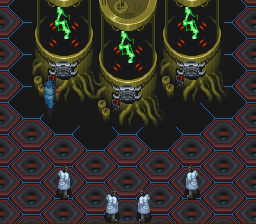
Defeat this monstrosity and save the scientists by blowing these bad boys up.

Restore peace to the land! #DefendTheLand [Someone has to… -Ed.]
WHAT THE CRITICS SAID
Operation Logic Bomb did OK with the presses. EGM gave it scores of 9, 8, 8 and 6. Super Play, however, rated it 68%. They knocked it for featuring slow and unimaginative gameplay. I sort of agree with that assessment yet at the same time I kind of don’t. The game is no barn burner by any means, but it’s not exactly plodding, either. It’s somewhere in the middle. It’s nice being able to strafe and lock your position. That’s one of my biggest beefs with a game like Zombies Ate My Neighbors. However, Operation Logic Bomb is not as fast as that game is. Its pacing is much more deliberate and cerebral. It sure could have used a rolling option or some kind of evasive action (similar to True Lies and how Arnold could do a somersault).
CLOSING THOUGHTS
Sadly, Operation Logic Bomb rarely gets the credit it deserves. You could call it something of an “obscure hidden gem.” It doesn’t seem to get talked about much when people recommend SNES games, even when asking about lesser known titles. But it definitely deserves to be in that conversation. I like that the guns have unlimited ammo and that there is no time limit. You really get to dictate the pace of the game. I also like that each weapon has its pros and cons. Some are weak but they cover the entire length of the screen. Others may be potent but lack range. The two extra items (the mine and the decoy) are also great tactical tools to employ throughout. The enemies aren’t terribly varied, but there’s just enough of them to keep you switching guns and strategies on the fly. It’s kind of pure in that sense. Not too unlike Doom where certain weapons work better on certain demons than others, and it’s a matter of switching to the proper gun for each situation.
Unfortunately, the game is pretty short and can be beaten in around an hour or so. But I suppose this is also a good thing since there are no saves or passwords. It’s an arcade experience that’s meant to last not too long. Although it is short, I do find myself coming back to it occasionally, just because of how fun it is. Nothing beats selecting the right gun for the right situation — especially when it involves bouncing shots off a wall to dismantle a hapless enemy. The visuals are pretty good although there isn’t much variety to speak of in the lab levels. And sadly that’s where the bulk of the game takes place. The sounds get the job done but nothing to write home about, like the music itself. I do enjoy the arcade action although I wish it were a smidgen faster and some sort of evasive action would have made life easier. But all in all, Operation Logic Bomb is a simple, fun arcade-like game that would make a nice addition to any Super Nintendo library.
Graphics: 7.5
Sound: 7.5
Gameplay: 7.5
Longevity: 6
 Overall: 7.5
Bronze Award